A Passed Seam Test Does Not Inspect Every Part of the Liner
A seam can pass its specified test while damage remains elsewhere in the liner. Manufacturing conformity, seam integrity and installed-area leak location are separate elements of a containment quality plan.
Geomembrane testing should therefore be organised by what each test is intended to check. A material certificate does not prove that the field seams are acceptable, and a seam inspection does not prove that subsequent aggregate placement left the entire lining undamaged.
Begin with the liner material, surface type, thickness, section and construction sequence. The accepted CQA plan should identify methods, locations, frequency, criteria, records, repairs and retesting. Avoid treating a generic checklist as a substitute for the project requirements.
The geomembrane range provides the product starting point. The inspection plan must then address the selected material and installed system.
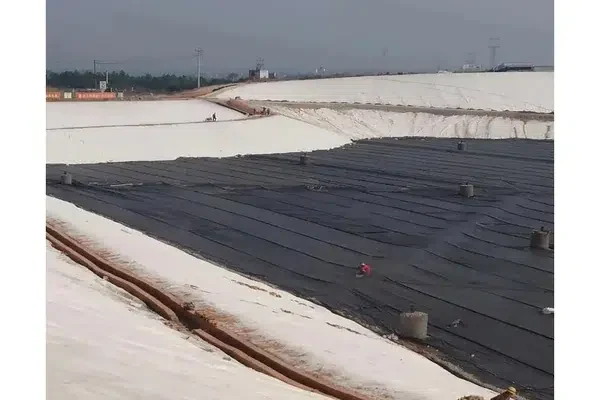
Keep Material, Seam and Area-Wide Evidence Separate
The published smooth-HDPE sheet lists 22 kN/m tensile yield strength for its 1.5 mm column, together with other material properties. These data describe the sheet, not the strength or continuity of a field weld. [1]
GRI-GM13 provides manufacturing requirements for HDPE geomembranes. Use the applicable project edition and required conformance evidence; a reference to GM13 alone is not evidence that every delivered lot or installed seam has been accepted. [2]
ASTM D6392 concerns destructive testing of appropriate thermally produced seams. Non-destructive seam methods and electrical leak-location methods address different inspection questions and conditions. [3][4]
| Inspection level | Typical evidence | Main limitation |
|---|---|---|
| Sheet manufacturing | Product and lot test documentation | Does not prove field installation quality |
| Destructive seam testing | Specified peel and shear evaluation | Samples particular seam locations |
| Non-destructive seam testing | Appropriate air-channel, vacuum or other accepted method | Depends on seam configuration and method suitability |
| Leak-location survey | Suitable method for the installed arrangement | Requires appropriate electrical and site conditions |
Do not select test pressure, hold time or sampling frequency from an unrelated project. Those details belong in the approved procedure for the material, thickness, seam arrangement and test method being used.
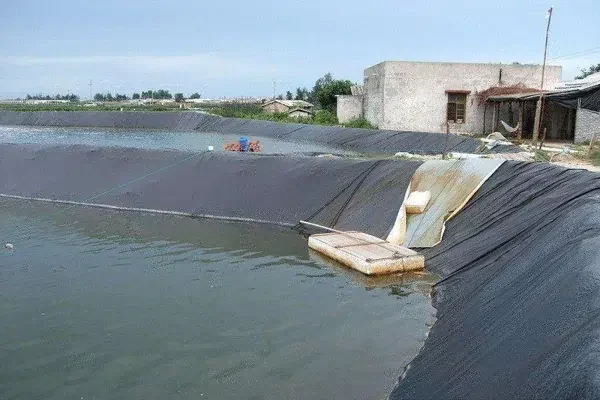
Build the Test Sequence into the Construction Programme
Identify panels and seams from deployment onward. Link roll numbers, panel locations, welding equipment, operators and relevant conditions to the inspection records required by the CQA plan.
Confirm the welding procedure and trial-seam requirements before production work. Maintain the agreed checks when materials or conditions change. A previously accepted trial does not automatically validate every later combination of material, equipment setting and weather.
Perform non-destructive seam checks using the method appropriate to the seam configuration. For example, a dual-track seam with a test channel requires a different arrangement from an area where that channel is absent or interrupted.
Record destructive sample locations and their reinstatement. A tested sample creates a location that must be repaired and checked according to the accepted detail. Keep the repair traceable to the original seam record.
Inspect the liner after activities that can introduce damage, including traffic, material handling and covering. Coordinate any leak-location survey with the installed condition and the method’s requirements. The presence of a conductive path or cover material can affect the applicable arrangement.
When a defect is found, map it, repair it, retest it and retain the close-out evidence. A log marked “repaired” without a location and accepted verification leaves the quality record incomplete.
Protection and drainage layers also affect the sequence. Review the adjoining geotextile and drainage geocomposite placement so inspections occur before access is lost.
Close Out Repairs Before Changing Inspection Stage
Consider damage discovered after a seam test has passed but before the next cover layer is placed. Keep the new defect as a separate inspection item, with its location, repair and required verification. The earlier seam pass remains a valid record of that test, but it does not close the later damage.
Agree who releases the area for the next construction stage and which records support that release. A repair list and a panel drawing should identify the same location, avoiding anonymous notes such as “patch completed”.
If another activity changes the installed condition after a survey, review the required follow-up under the accepted CQA plan. Do not assume that one completed inspection stage removes every later check. A staged close-out record makes it clear which condition was inspected, which defects were resolved and when the area was accepted for covering.
Consider the Cost of Finding a Defect Late
Testing needs access, time and coordination. If inspection is postponed until after critical areas are covered or obstructed, repair and verification can become much more difficult.
Budget for the complete quality plan, including trial seams, required sampling, repairs, retesting and any specified leak-location work. Identify inspection access, reporting time and release responsibilities in the programme so required verification does not become an unplanned delay immediately before covering. A quotation that includes only sheet supply is not comparable with one that includes an agreed installation and inspection package.
Long-term containment performance also depends on material suitability, stress conditions, protection and operations. A clean test record for one stage should not be presented as a guarantee of a fixed service life.
Avoid assuming that more tests always resolve an unsuitable system. First confirm that the methods apply to the material and installed arrangement, and that the acceptance criteria address the project’s risks.
The most useful commercial comparison identifies who is responsible for each test, what evidence is delivered, and how nonconforming work is closed out. Unclear responsibilities can create disputes even when the inspection equipment is available.
Request a CQA Matrix with Clear Responsibilities
Prepare the matrix before deployment. Put the inspection stage, method, acceptance basis, responsible party, record and repair procedure on the same line.
Include:
- Exact liner material, thickness and surface construction.
- Required sheet conformity documents and lot identification.
- Welding procedure and trial-seam requirements.
- Destructive and non-destructive seam methods.
- Suitable leak-location requirements and site conditions.
- Inspection hold points before covering.
- Defect mapping, repair and retesting records.
- Final panel, seam and repair close-out documentation.
Use the accepted plan and applicable standard editions for the project. This article identifies the different testing roles; it does not replace a full method statement or establish universal test settings.
Send the lining section and required documentation through our project inquiry page so the supply proposal can be aligned with the project’s acceptance package.
References
Tech Note: A seam pass and a liner-area leak survey are different records; retain both where the approved CQA plan requires them.